Getting started
Welcome to Computing on Demand
Welcome to our new services for high performance computing resources, running on the popular Open OnDemand platform.
To access the services, go to ondemand.fab.lse.ac.uk where you can:
- launch jobs
- see your running jobs
- upload and download files
- work interactively, with access to:
- Jupyter-based notebooks
- a persistent terminal
- a remote desktop with GUI applications
Commands in this documentation
In this documentation commands intended to be typed are written command name when there are several command to run at once these will be shown as
command argument
another_command
Output from commands will also be shown in that format.
Getting Help
These guides are intended to help you get used to this service. They are not a guide to working in the statistical applications, rather they are a guide on how to use the statistical applications efficiently with this service.
At the top right of these guides is a search box. If you cannot find the help you need in this guide, please reach out to us in our Teams channel at fab discuss.
Connecting
Use your browser to go to ondemand.fab.lse.ac.uk. If you have used another Microsoft Office 365 services beforehand, you will be logged straight in to the service and see the main page.
Here you can access various applications and information, please note the NOTICE in yellow, here we will post updates and any service related notices.
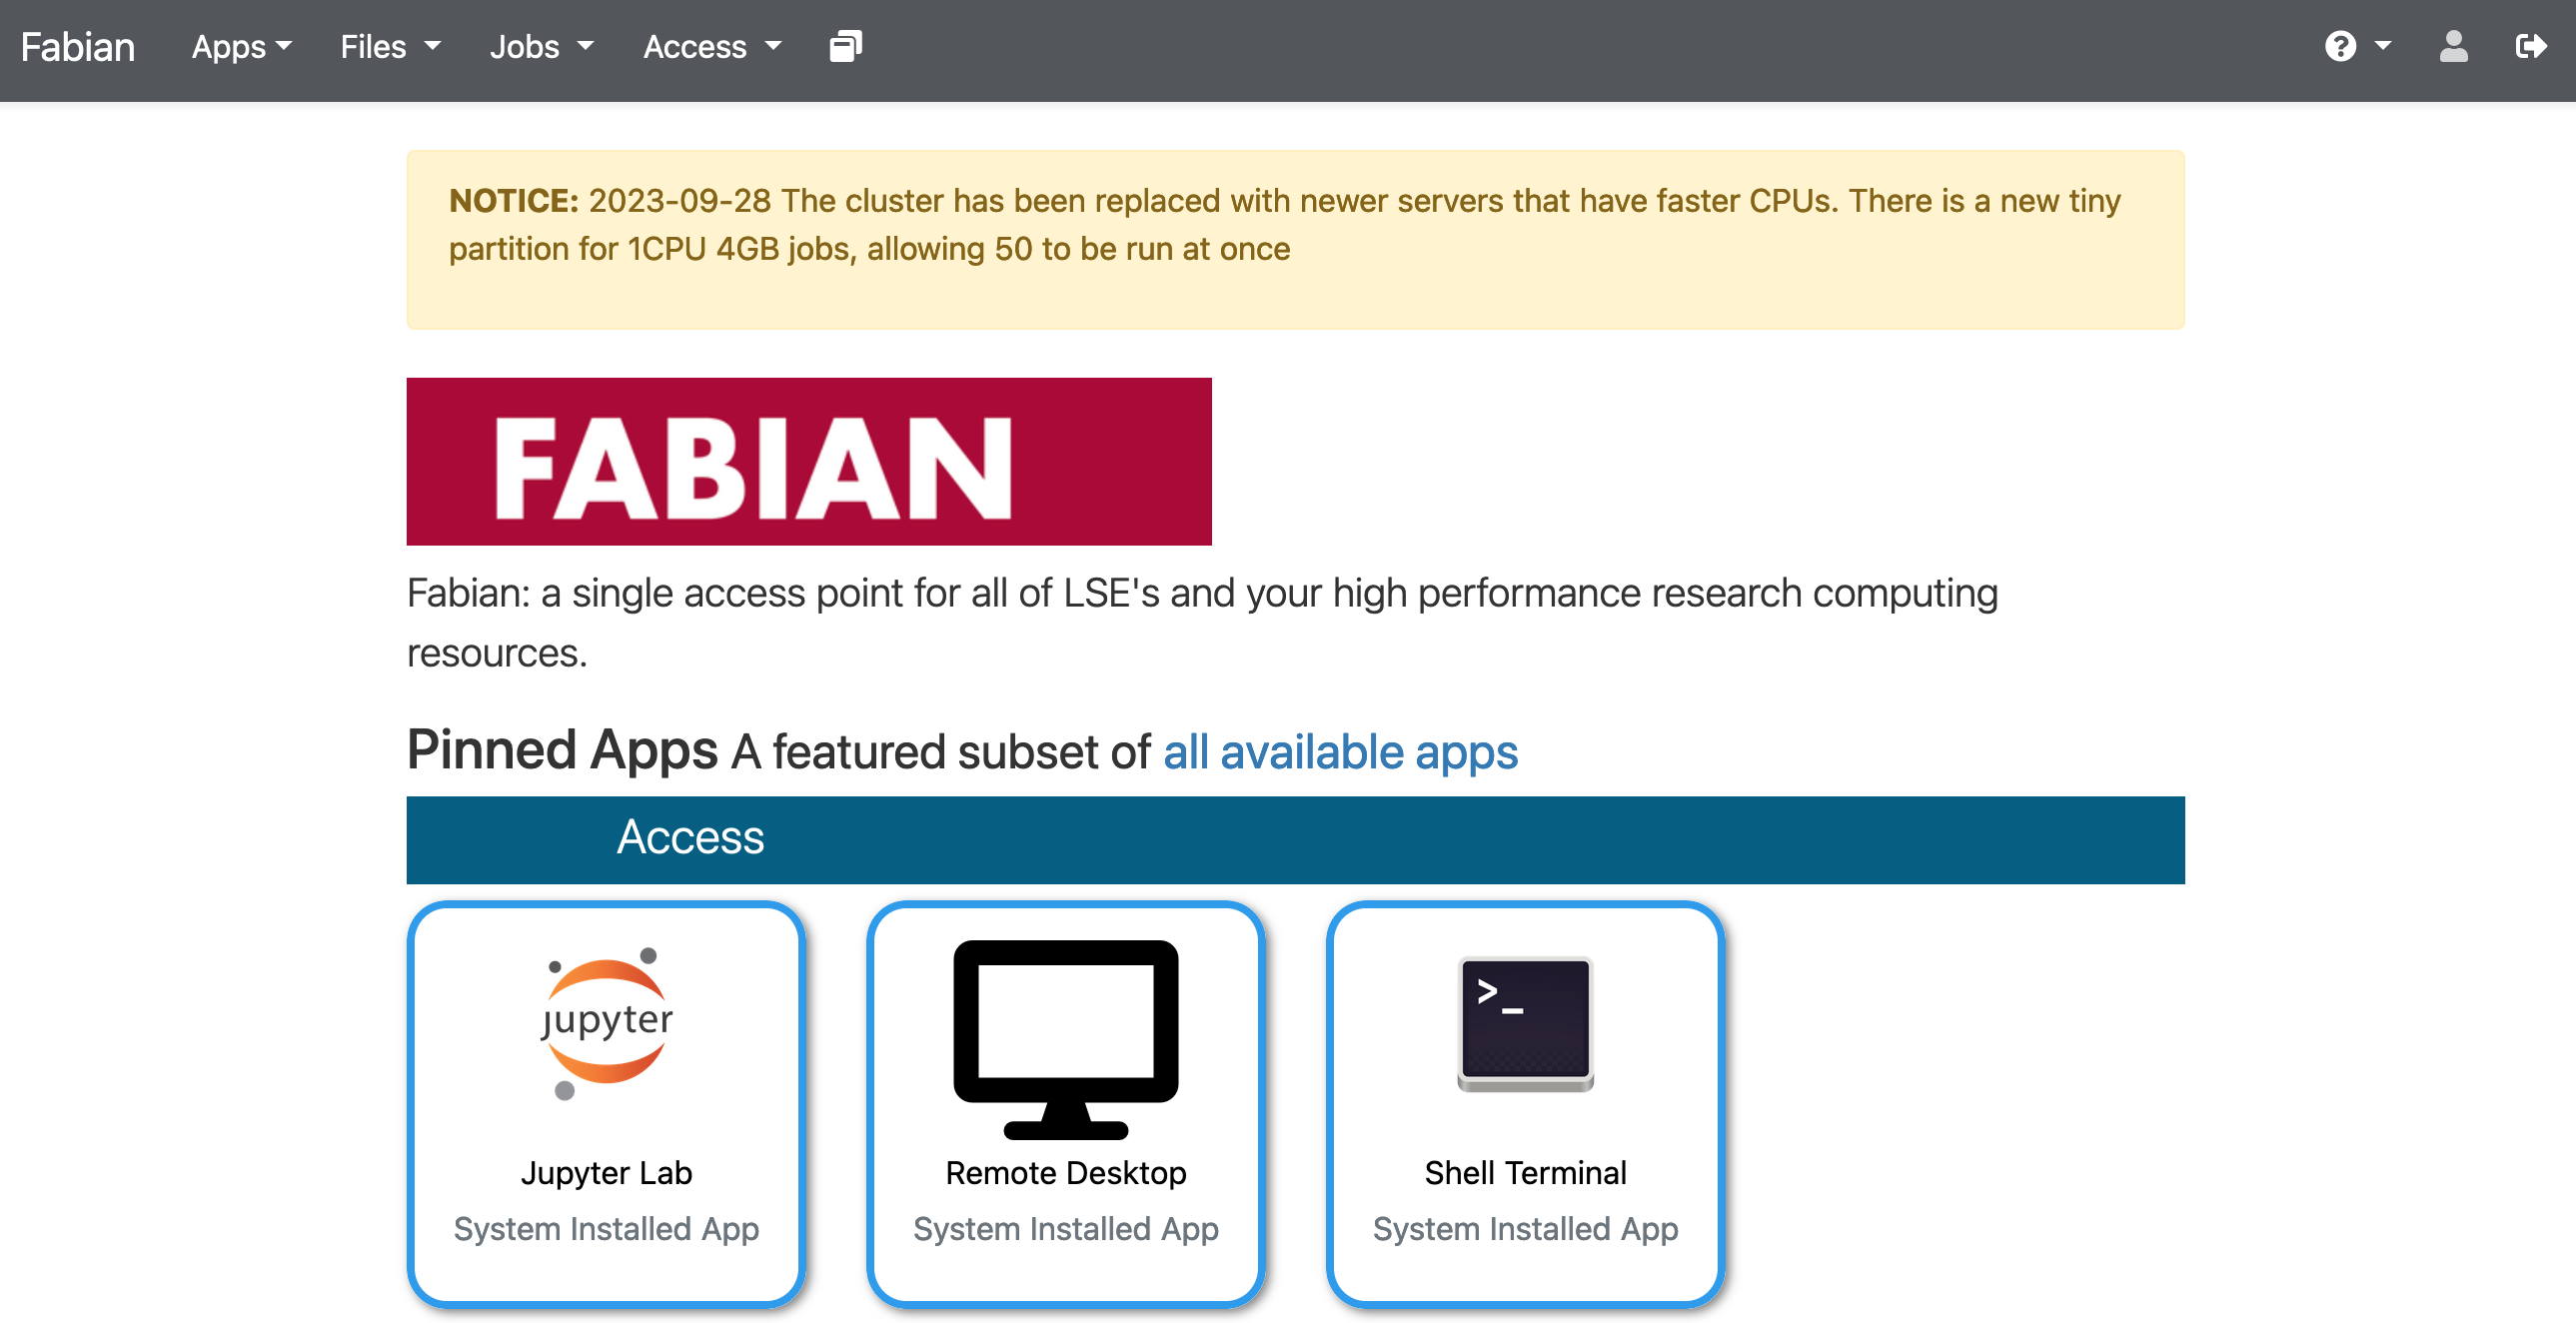
If you haven't used Office 365 services beforehand, you should see a login page where you can enter your LSE email address followed by your password. Accept the MFA request using your authenticator app on your phone (or whichever MFA method you have setup).

From here you can explore the applications available, transfer files and launch jobs for your research.
Transferring files
Ondemand, the remote desktop and Jupyter Lab all offer file transfer options which are good for small uploads of files and data, for larger files different upload methods are available, please see the menu for details.
Jupyter Lab
Jupyter Lab offers notebook editing, code running and file transfer features to make producing documented code easier.
We currently support running Julia, Python, R and Stata within notebooks.
Using your web browser, either from the OnDemand main page or via the Apps menu, select Jupyter Lab.
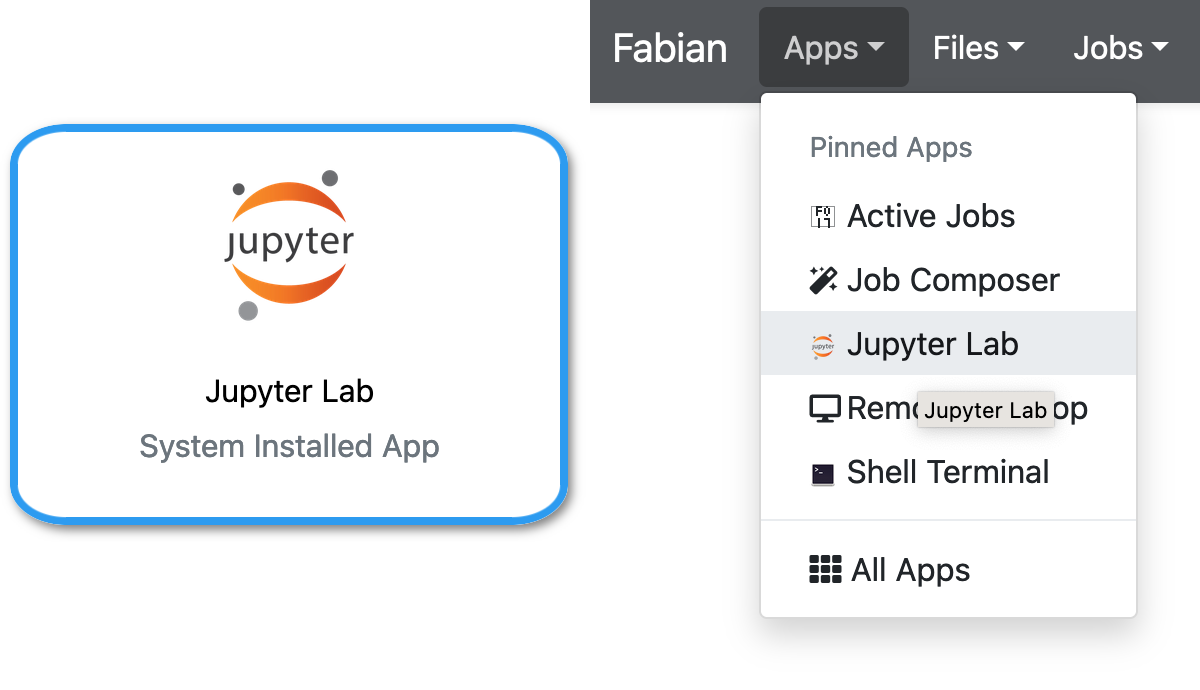
You will be given a choice of size of the server that will run your Jupyter Lab session. Unless you know you will be using parallel processing, you should choose 1 or 2 CPUs. Two CPUs can help keep your Jupyter session responsive and speed up file access when one CPU is busy processing your code.
Detailed user guides can be found on the Jupyter Lab website.
Desktop
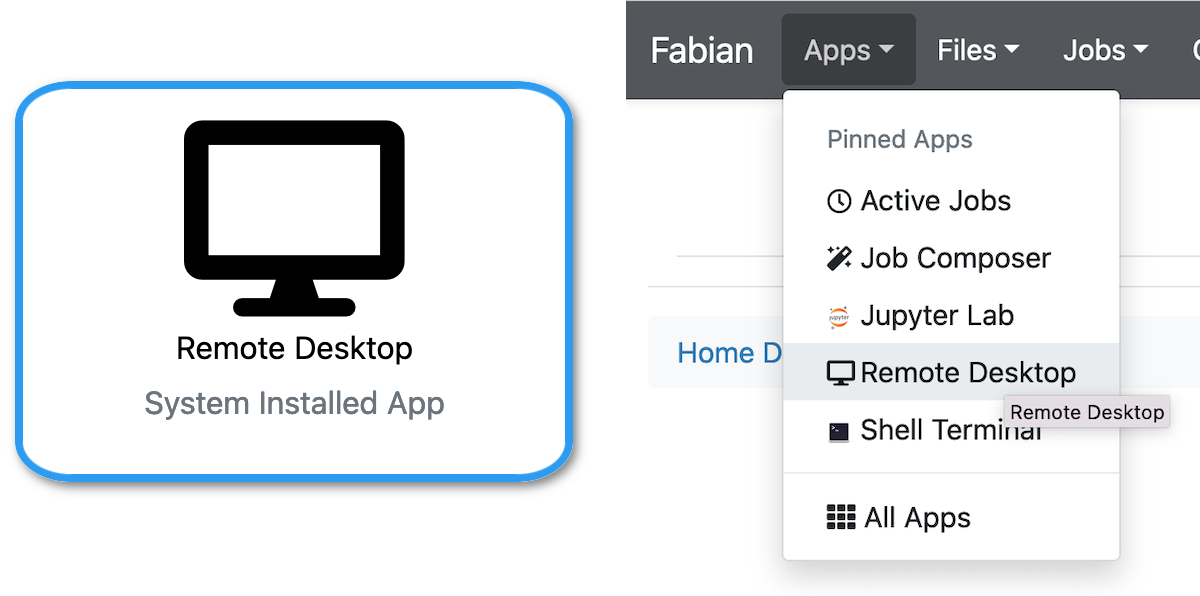
Using your web browser, either from the OnDemand main page or via the Apps menu, select Remote Desktop.
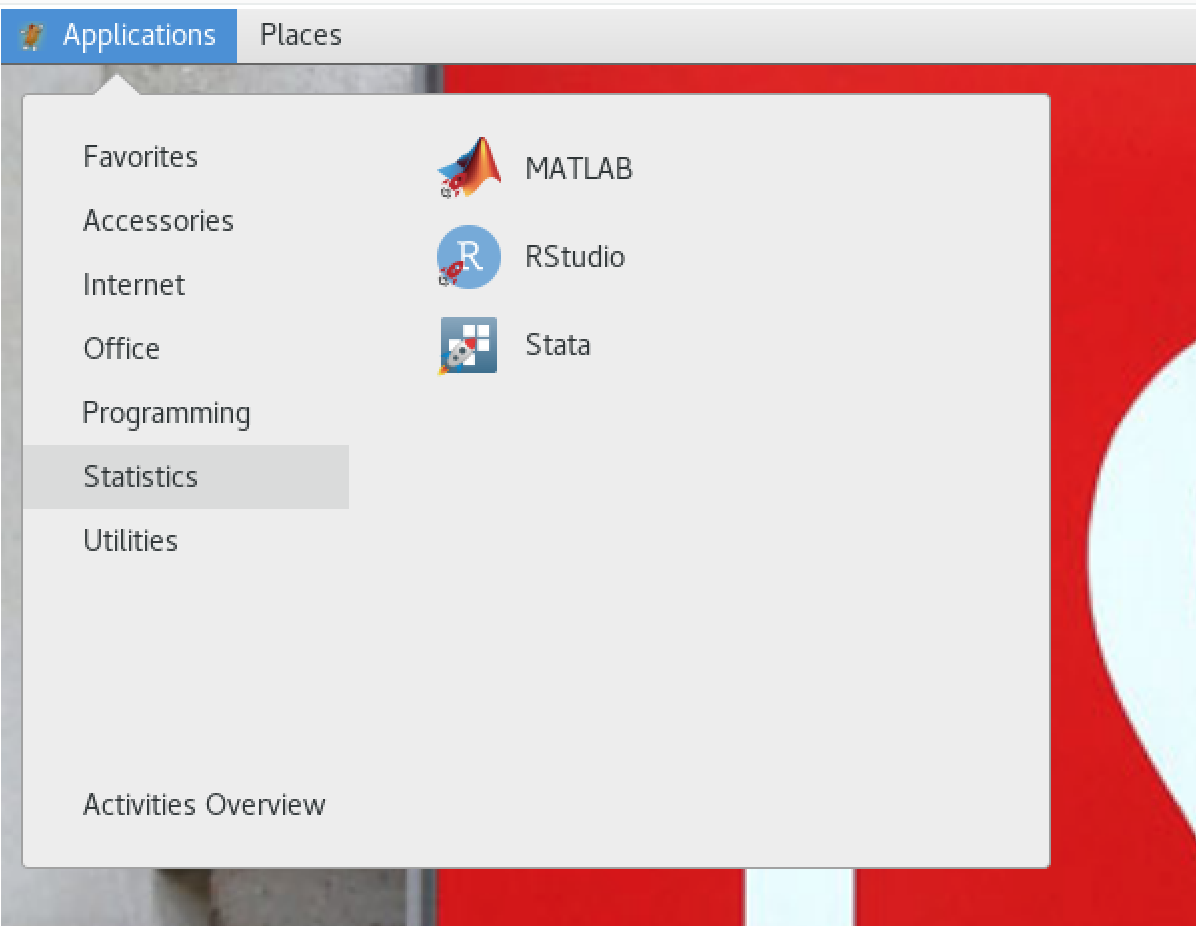
You will be allocated a persistent connection to a desktop with the applications available; most are under the Statistics menu.
At the top of the window there is a row of icons allowing you to:
 Transfer Files
 Copy and Paste text
 Setup your mic and speaker (probably not that useful)
 Setup multiple monitors
 Use full screen mode
Whilst you can copy and paste to/from the desktop using any browser, it is easier with Google Chrome as it will automatically sync your clipboard, rather than you having to use the buttons.
Using applications - Software Modules
The Fabian cluster uses software modules to allow you to choose which software to run. The use of modules enables us to offer multiple versions of the same software with the dependencies and libraries which support that version. The command module avail lists which software is available:
----------------------------------------------------------------- /opt/apps/modulefiles -----------------------------------------------------------------
   apps/MATLAB/R2022a    apps/RStudioDesktop/2022.07.1+554    apps/julia/1.6.6        apps/stata/16
   apps/R/4.2.1          apps/anaconda3/202111                apps/julia/1.8.0 (D)    apps/stata/17 (D)
...
When multiple versions are available, the list displays a (D) denoting which version will be chosen if you do not specify a version.
These modules can be made available to your session. For example to use the latest Stata, run:
module add apps/stata
or to specify a particular version of R:
module add apps/R/4.2.1
For python we have a few different python distributions available. Choose one of
module add apps/anaconda3module add apps/miniconda
You can use the tab key to autocomplete the module name.
If you always use the same software, you can make your choice of modules persistent with the command:
module save default
These modules will be loaded when you login as our system profile includes the command module restore default
The command module list shows which modules you are using. Some are there by default and are required for scheduling to work.
If you want to stop using one version and use another then either:
-
run
module purgeand logout and in again to clear your environment, or -
add the one you want instead:
module add apps/julia/1.6.6
... use julia 1.6.6 ...
module add apps/julia/1.9.2

The following have been reloaded with a version change:
  1) apps/julia/1.6.6 => apps/julia/1.9.2
If you'd like some software which is not listed, please reach out to us in our Teams channel at fab discuss.
You can setup modules for your own software. If you'd like to use modules for your own software or run multiple versions of your own software, contact us in our Teams channel at fab discuss. We can explain how that is done.
Cluster Information
Supporting your jobs and notebook sessions is a cluster of servers and a scheduler which assigns your jobs to those servers.
The scheduler is called Slurm and most of the commands used to interact with it start with an "s".
You can see the current state of the cluster using the sinfo command:
sinfo
| PARTITION | AVAIL | TIMELIMIT | NODES | STATE | NODELIST |
|---|---|---|---|---|---|
| small* | up | infinite | 299 | idle~ | small-dy-c5-large-[1-99],small-dy-c5a-large-[1-100],small-dy-c6a-large-[1-100] |
| small* | up | infinite | 1 | idle | small-st-c5-large-1 |
| smallspot | up | infinite | 400 | idle~ | smallspot-dy-c5-large-[1-100],smallspot-dy-c5a-large-[1-100],smallspot-dy-c6a-large-[1-100],smallspot-dy-c6i-large-[1-100] |
| medium | up | infinite | 400 | idle~ | medium-dy-c5-4xlarge-[1-100],medium-dy-c5a-4xlarge-[1-100],medium-dy-c6a-4xlarge-[1-100],medium-dy-c6i-4xlarge-[1-100] |
| large | up | infinite | 400 | idle~ | large-dy-c6a-16xlarge-[1-50],large-dy-c6i-16xlarge-[1-50],large-dy-r5-4xlarge-[1-100],large-dy-r5a-4xlarge-[1-100],large-dy-r6i-4xlarge-[1-100] |
| xlarge | up | infinite | 20 | idle~ | xlarge-dy-c6a-32xlarge-[1-10],xlarge-dy-c6a-48xlarge-[1-10] |
PARTITIONs are pools of similar servers (nodes), all of which should show as UP all the time and, as we do not currently limit job time, show as having an infinite TIMELIMIT.
The STATE of a server can be:
| State | Meaning |
|---|---|
| idle~ | this server is currently turned off; it will be turned on when jobs are allocated to it |
| mix | this server is currently turning on as a job has been allocated to it |
| idle | this server is currently turned on, but no jobs are allocated to it |
| alloc | the server is running a job at the moment |
We make available several hundred servers in most partitions, except where the resources are very expensive.
The choice of server sizes is subject to change and we will regularly review it in order to match the sizes of the jobs submitted to the cluster.
| Partition | Nodes | TOTAL CPUs | Memory | Notes |
|---|---|---|---|---|
| tiny | 60 | 60 | from 1G to 3G per node | |
| small | 60 | 60 | from 7G to 15G per node | |
| smallspot | 150 | 150 | from 7G to 15G per node | uses cheaper spot instances, and are well suited for massively parallel jobs that can run overnight or at weekends, or if you don't mind if part of the task has to be rerun |
| medium | 60 | 420 | from 15G to 60G per node | |
| large | 22 | 368 | from 30G to 243G per node | |
| largespot | 50 | 840 | from 30G to 243G per node | uses cheaper spot instances, and are well suited for massively parallel jobs that can run overnight or at weekends, or if you don't mind if part of the task has to be rerun |
| xlarge 1 | 4 | 160 | from 486G to 729G per node | uses cheaper spot instances, and are well suited for massively parallel jobs that can run overnight or at weekends, or if you don't mind if part of the task has to be rerun |
| xlargecpu 1 | 16 | 768 | from 121G to 243G per node | uses cheaper spot instances, and are well suited for massively parallel jobs that can run overnight or at weekends, or if you don't mind if part of the task has to be rerun |
| gpu 1 | 4 | 8 | 15G per node | Nvidia A10 or T4 GPUS, uses cheaper spot instances, and are well suited for massively parallel jobs that can run overnight or at weekends, or if you don't mind if part of the task has to be rerun |
update 2025/10/23
The tiny, small, smallspot, medium, largespot and large partitions are available to interactive tasks, the other partitions contain expensive servers and to control cost we only allow access to submitted jobs/tasks
The largespot partition should be used in preference to the large partition as the servers are cheaper
The xlarge, xlargecpu, and gpu partitions are available to users with a strong use case please contact us via teams if you wish to use these queues
The smallspot, largespot, xlarge, xlargecpu, and spot all use cheaper spot instances, and are well suited for massively parallel jobs that can run overnight or at weekends, or if you don't mind if part of the task has to be rerun
Job Queues
The command squeue displays the running jobs listing, showing:
- jobid
- partition they are running on
- job names
- user they belong to
- how long they have been running and other information
The same information can be seen via the OnDemand dashboard's Active Jobs option.
You can restrict squeue to only showing your jobs with squeue --me or to a partition with squeue -p medium (for the medium partition)
Running a job
To submit a job there are two commands: sbatch for submitting a job to run in the background and srun for interactive tasks.
sbatch
There are two ways to use sbatch:
Simple jobs
For simple tasks, you can load the relevant module and ask Slurm to create the script for you and run it with:
- python
- R
- Stata
- MATLAB
module add apps/anaconda3
sbatch --partition small --time=1:00:00 --cpus-per-task 1 --mem 2G --job-name=pythontest --wrap "python your_python_script.py"
module add apps/R
sbatch --partition small --time=1:00:00 --cpus-per-task 1 --mem 2G --job-name=rscripttest --wrap "Rscript your_r_script.R"
module add apps/stata
sbatch --partition small --time=1:00:00 --cpus-per-task 1 --mem 2G --job-name=statatest --wrap "stata -b your_stata_do_file.do"
module add apps/MATLAB
sbatch --partition small --time=1:00:00 --cpus-per-task 1 --mem 2G --job-name=maltabtest --exclusive --wrap "matlab -nodesktop -nodisplay -nosplash < your_matlab_script.m"
More complex jobs
Create a file that describes your job:
- python
- R
- Stata
- MATLAB
Create a file called jobname.sbatch as below:
#!/bin/bash

#SBATCH --partition=small
#SBATCH --job-name=pythonexample
#SBATCH --output=example.out
#SBATCH --error=example.err
#SBATCH --nodes=1
#SBATCH --time=1:00:00
#SBATCH --tasks-per-node=1
#SBATCH --mem=1G

module add apps/anaconda3

python your_python_script.py
Submit that file with the command sbatch jobname.sbatch.
Create a file called jobname.sbatch as below:
#!/bin/bash

#SBATCH --partition=small
#SBATCH --job-name=rexample
#SBATCH --output=example.out
#SBATCH --error=example.err
#SBATCH --nodes=1
#SBATCH --time=1:00:00
#SBATCH --tasks-per-node=1
#SBATCH --mem=1G

module add apps/R

Rscript your_r_script.R
Submit that file with the command sbatch jobname.sbatch.
Create a file called jobname.sbatch as below:
#!/bin/bash

#SBATCH --partition=small
#SBATCH --job-name=stataexample
#SBATCH --output=example.out
#SBATCH --error=example.err
#SBATCH --nodes=1
#SBATCH --time=1:00:00
#SBATCH --tasks-per-node=1
#SBATCH --mem=1G

module add apps/stata

stata -b your_stata_do_file.do
Submit that file with the command sbatch jobname.sbatch.
Using multiple CPUs with Stata is slightly more complex than with the other applications and programming languages we provide.
To use more than one CPU you need to run stata-mp rather than stata
Due to its licensing model, you need to load the stata module with a license for multiple CPUs.
- For 2 CPUs you would load
module add apps/stata/18-mp2.
You can not use more that 2 CPU per stata job, however you can run multiple 2 CPU stata jobs up to the limit of our license. If your job uses a lot of CPU and performs a lot of storage operations you may benefit from assigning the job 3 or even 4 CPUs so that the operating system can use the CPUs that stata does not
We review the use of Stata licenses annually and will not the mp32 license January 2025.
For details on stata-mp and whether the functions you use would benefit from it see the Stata/MP Performance Report. Appendix B gives graphs of performance of functions as they are given more CPUs. For example the anova and areg functions should benefit from more CPUs but the arch and arfima will not.
Create a function in a file with the same name with .m added
%=========================================================================================
% Program: print_figure.m
%
% Usage:
% matlab -nodesktop -nodisplay -nosplash -r "print_figure('file_name','file_format');exit"
%=========================================================================================
function [] = print_figure( outfile, file_format )
  disp('A simple test to illustrate generating figures in a batch mode.');
  x = 0:.1:1;
  A = exp(x);
  plot(x,A);
  print(outfile,file_format);
end
Then create a sbatch file, perhaps named graph.sbatch with the following content to call that function
#!/bin/bash
#SBATCH -J print_figure
#SBATCH -o %x-%j.out
#SBATCH -e %x-%j.err
#SBATCH -p small
#SBATCH -c 1
#SBATCH -t 30
#SBATCH --mem=4G
#SBATCH --exclusive
module load apps/MATLAB
matlab -nodesktop -nodisplay -nosplash -r "print_figure('output-image','-dpng');exit"
Submit that file with the command sbatch graph.sbatch.
You will find the output-image.png and logs in the directory you ran the sbatch submission from (the working directory).
Unless you are expert at configuring MATLAB's parallel setup then you should use the slurm --exclusive flag, which asks slurm to give you a whole server and not allow other jobs to run at the same time as yours. The reason for this is that by default MATLAB assumes it can use all the CPUs available on a server which causes significant issues if multiple jobs run on a server, especially if those other jobs also run MATLAB.
If you code does not rely on java (the above example does) you can add the -nojvm option to matlab and your code will run slightly faster.
The options in the lines in your sbatch file that start #SBATCH are exactly the same as the command line options that can be passed to sbatch or srun.
srun
To get a shell on a compute node, run:
srun --partition medium --cpus-per-task 1 --mem 2G --pty bash -l
If you use this method you must remember to exit the job otherwise the server will wait until your terminal times out. We have set a default timeout for users to prevent possible resource wastage. If you need to adjust it, run export TMOUT=300 within your session. "300" means 300 seconds (or 5 minutes).
Be sure to run bash -l and not just bash otherwise your shell will not run our login scripts and will not be able to find our modules.
Stopping jobs
If you need to stop a job, use scancel JOBID.